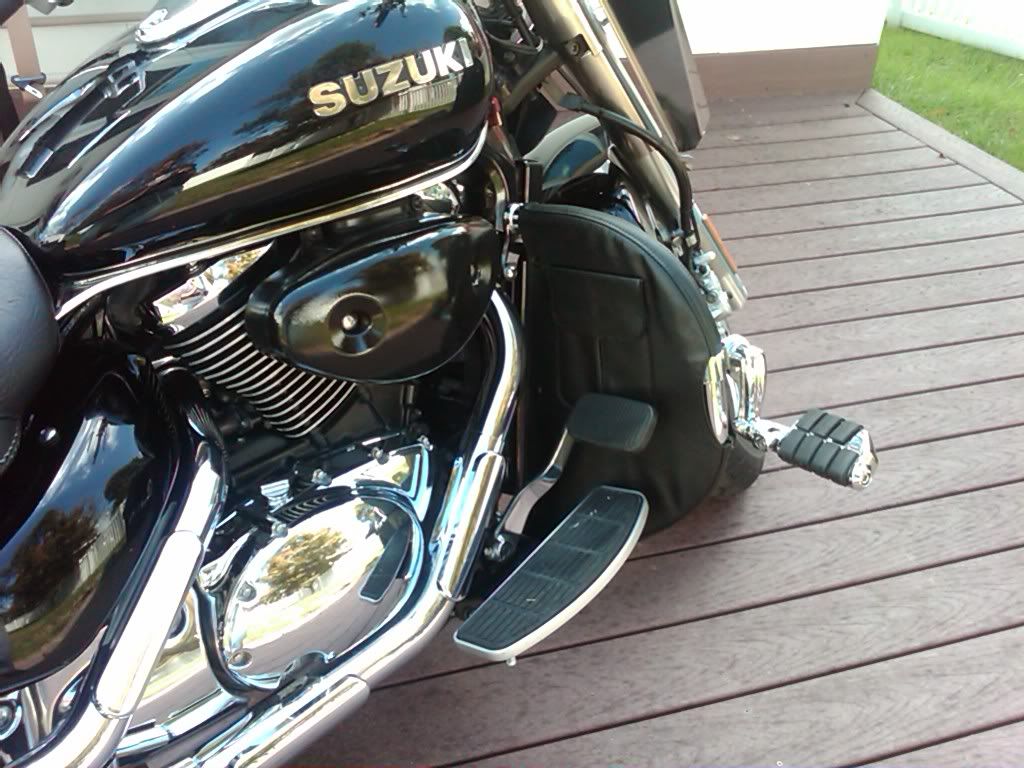
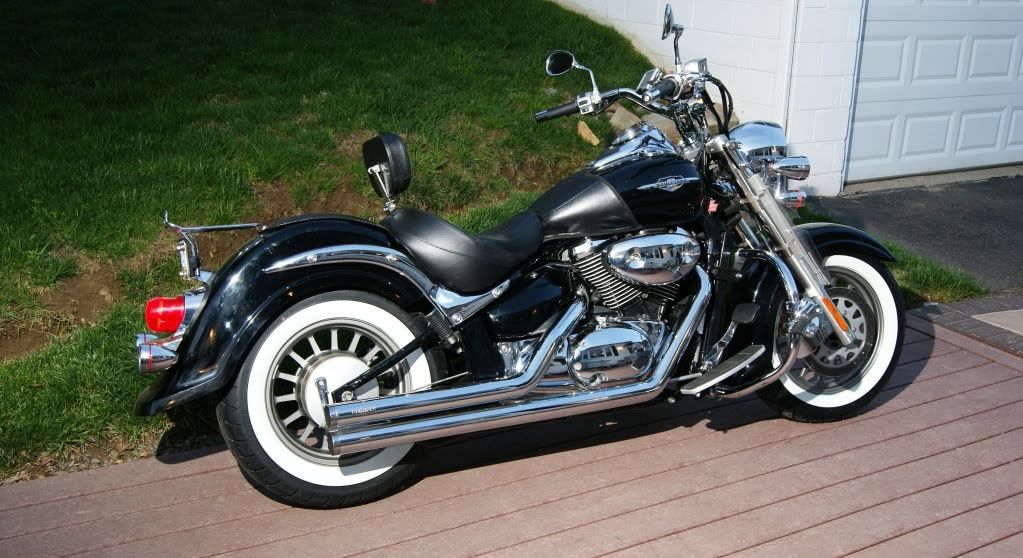
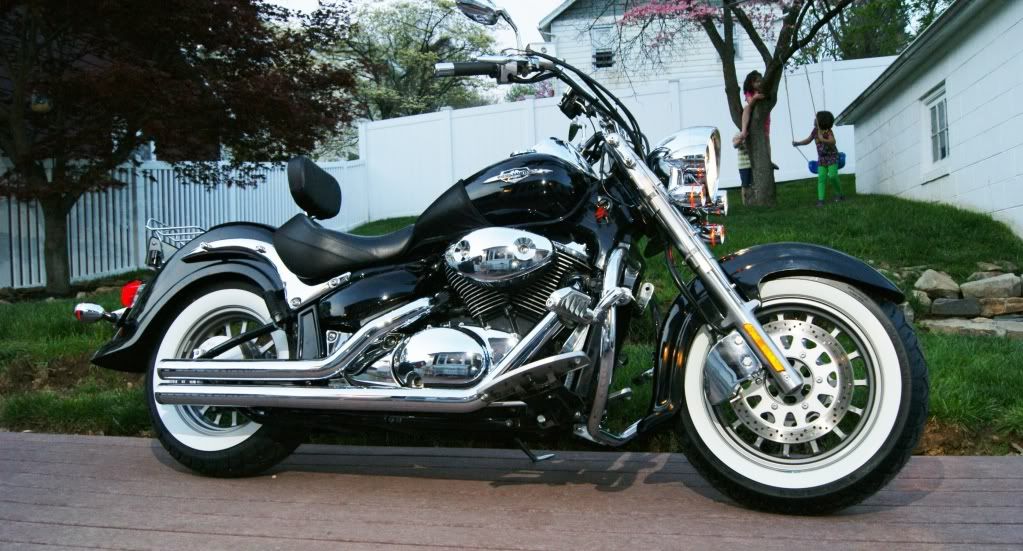
This is an old blog that I am re-writing for anyone who is looking to do this install. I have since gone on to using a Kuryakyn light bar. There is a lot of relevant information in this post, especially the part of using a relay to power accessory lights. So here is an oldie but a goodie...
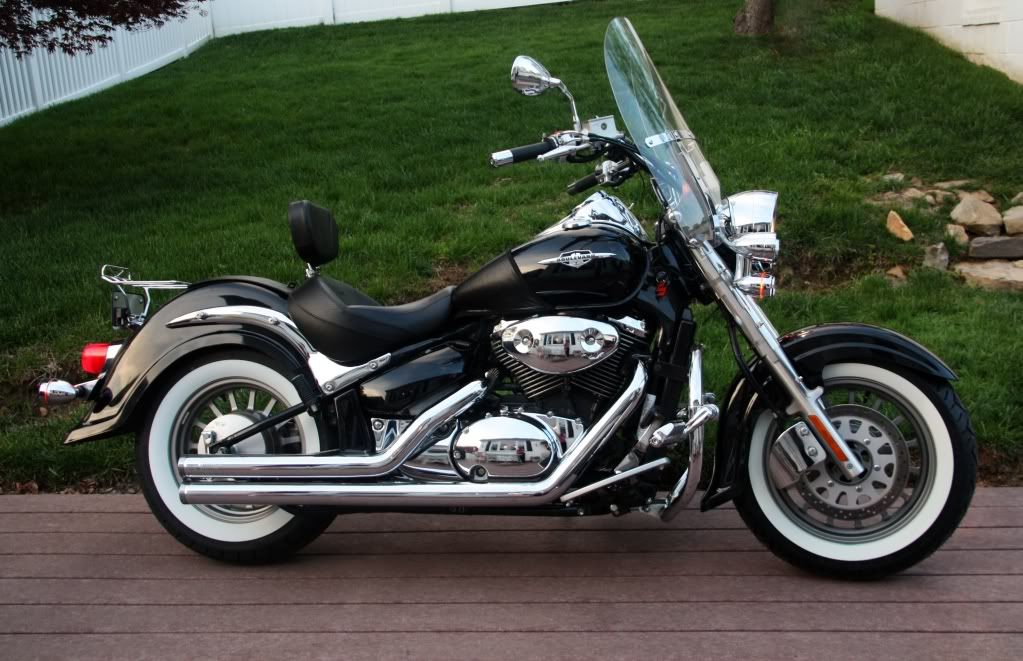
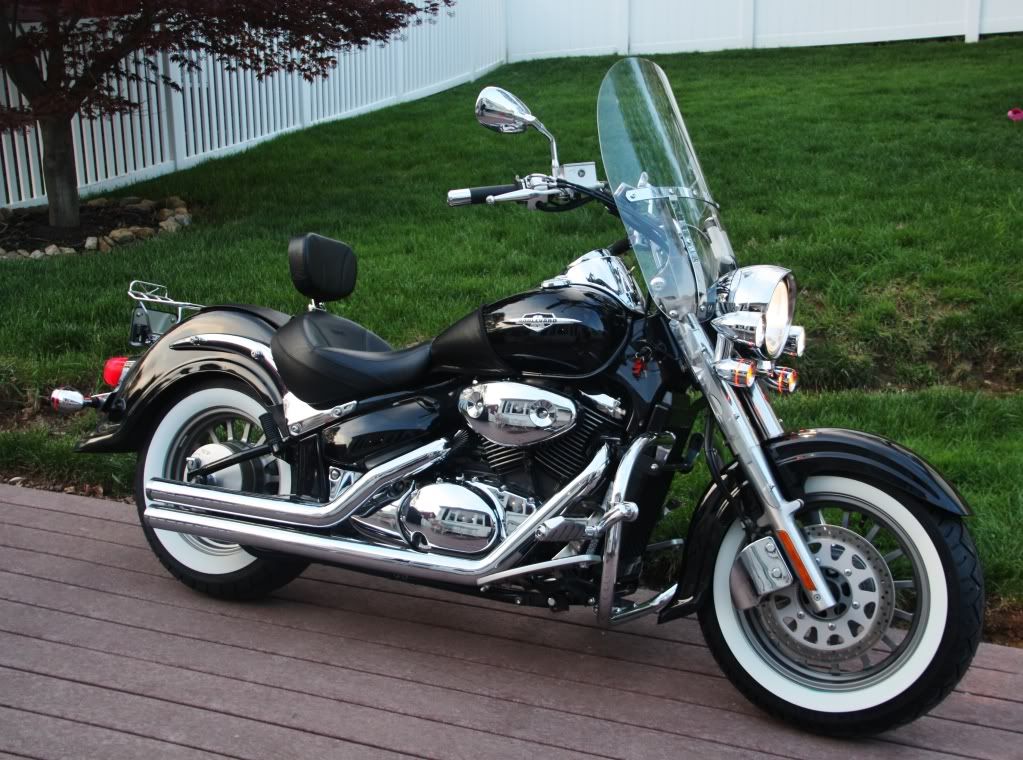
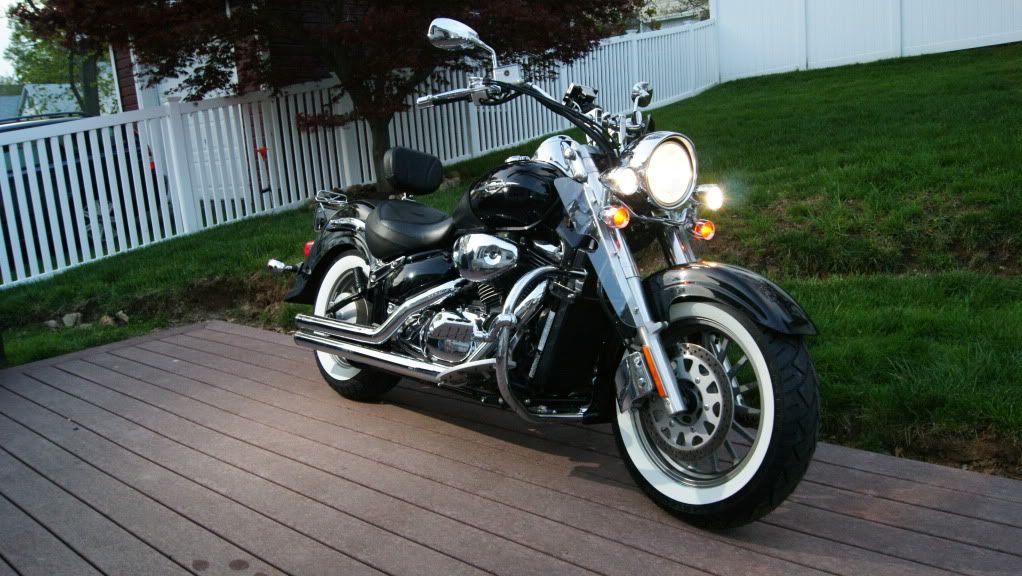
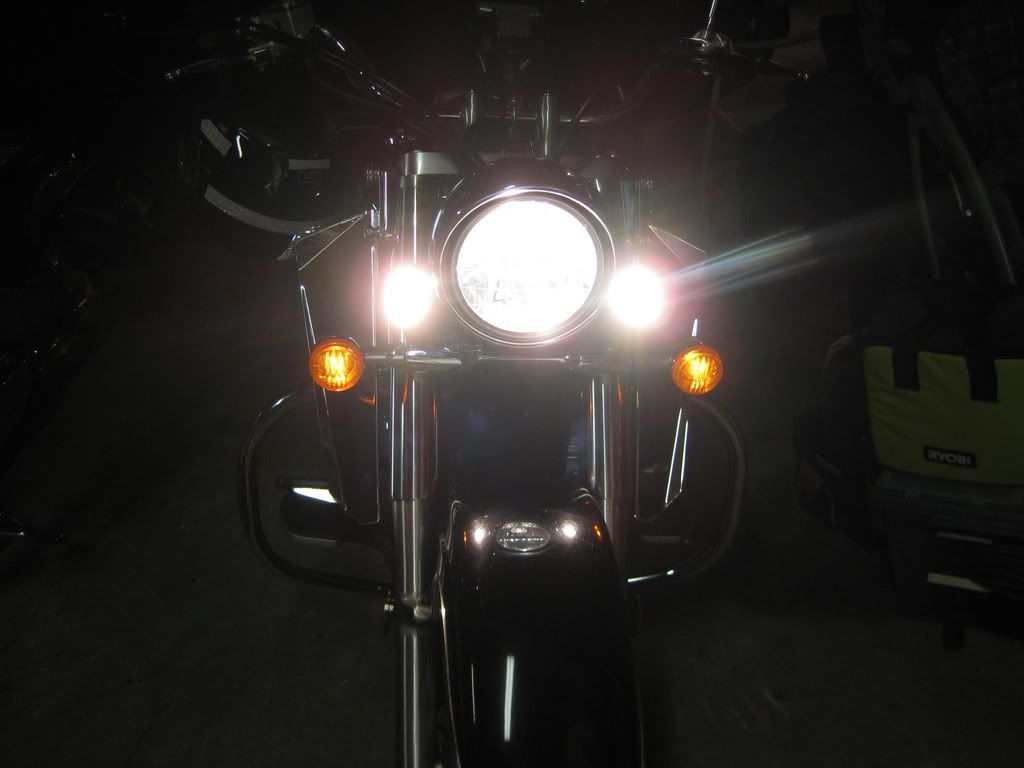
In an effort to keep things simple for anyone who wants to install these lights I wrote up a procedure that works, with pictures, lots of pictures, and it is wired so the lights turn off when you start the bike just like the headlight.
What you will need:
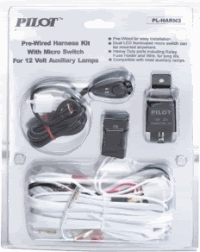
Pilot Motorsports: Wiring Harness w/Switch part PL-HARN3 from Pep Boys--- you will be cutting this harness up…
1 spool of 12 gauge red wire and 1 spool of 12 gauge black wire from radio shack
Black wire ties from Wal-Mart
A couple of packages of heat shrink from Wal-Mart
2 “eye-type” terminal connectors to connect red and black wire to the battery - got it in a package from Wal-Mart
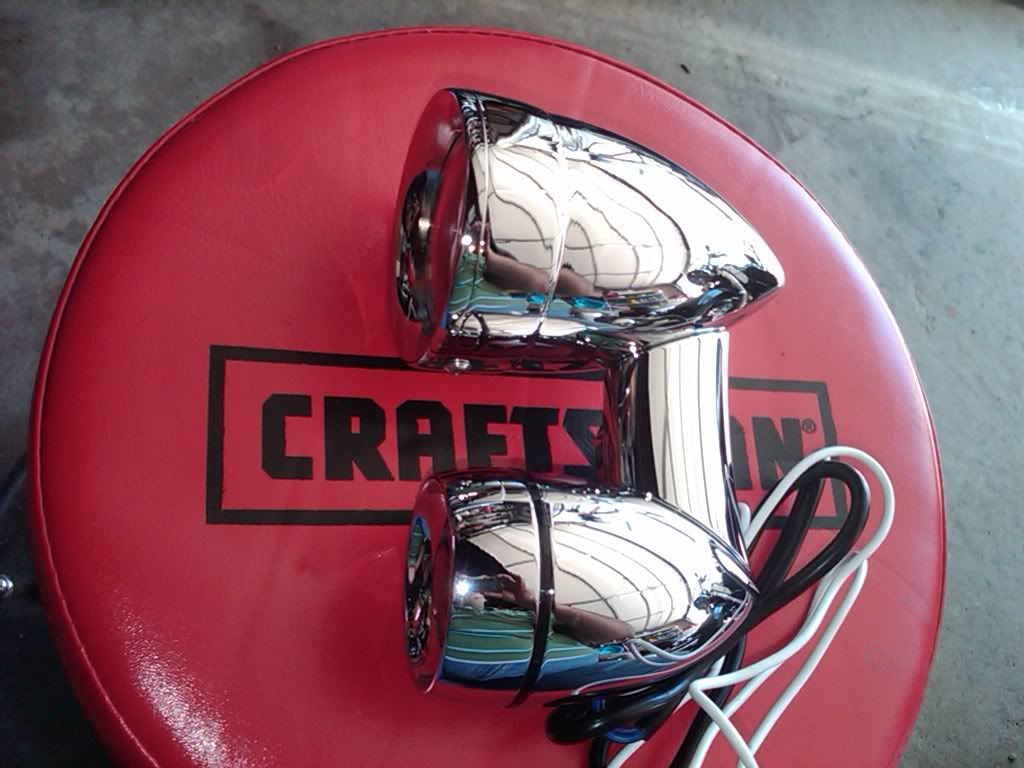
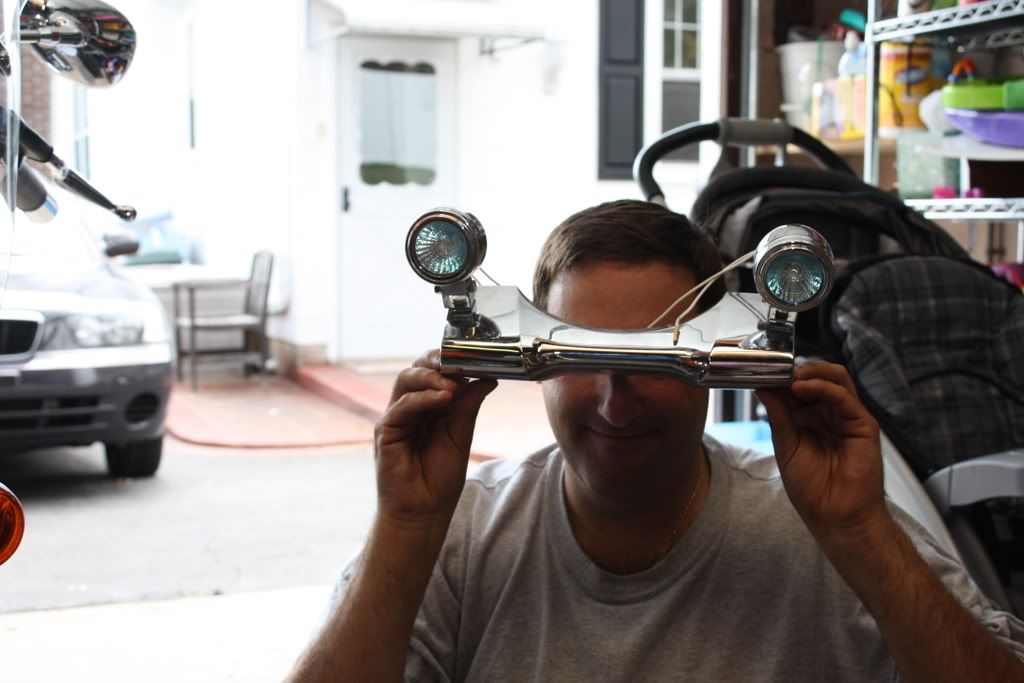
Wal-Mart Driving Lights
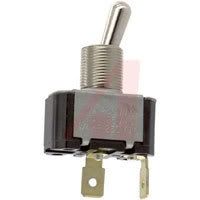
If you choose to install a switch here are some choices for a 12v switch …(tip: nothing from radio shack, nothing they make is exterior grade) –
Here are some choices:
1. Order a handlebar mounted 12v switch online
2. Go to a marine supply store and get a 12 volt toggle switch
3. Go to local motorcycle shop and see what they have
4. Try these choices from Allied Electronics
www.alliedelec.com
A quality 12 toggle switch:
http://tinyurl.com/5wk27c
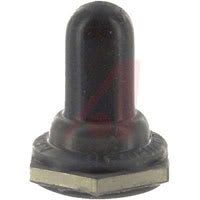
But more importantly use at toggle switch boot to cover the outside of the switch, this will make it water tight:
http://tinyurl.com/658p4u
My brother used a handlebar mounted 12v switch and took it all apart to the guts of the switch then mounted it into my speedo housing.
A roll of Plastic Wire Cover from Wal-Mart
Soldering iron and solder….I use small silver solder from Radio Shack
Instructions:
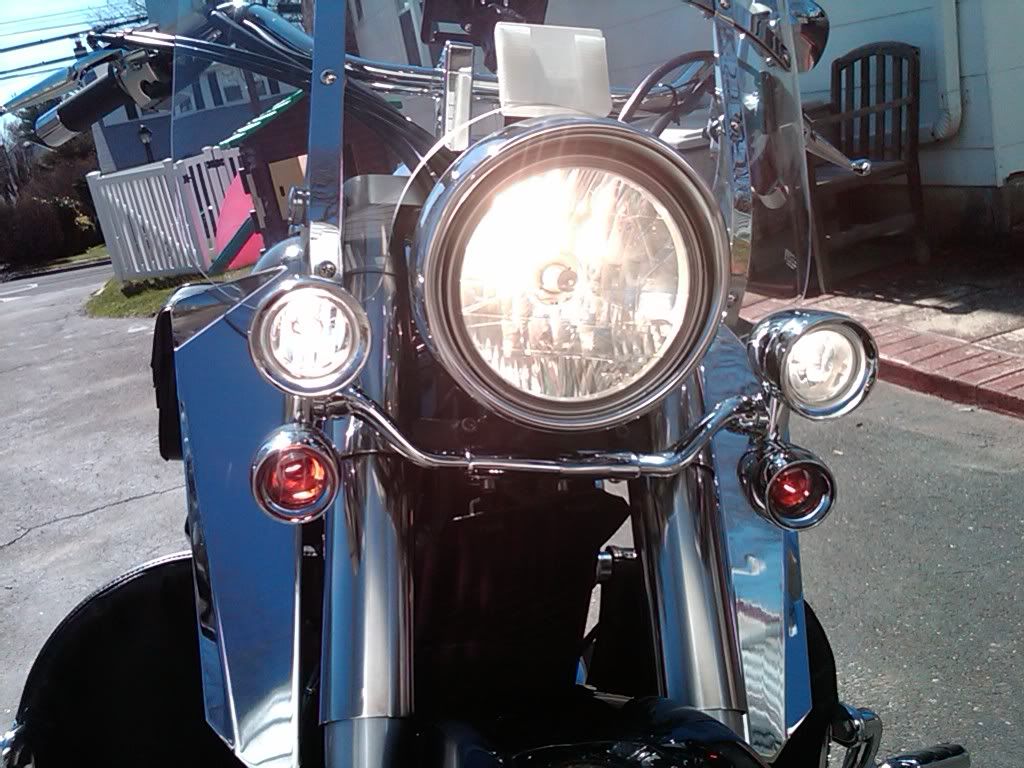
First off prepare the Wal-Mart lights…
What I did was take two small diameter pieces of heat shrink and put one piece on each end of the wire coming out of the end of the Wal-Mart lights. Then I put a larger piece of heat shrink over the two and really jammed it into the back of the light housing, this made a pretty good weather seal, you can also use some high heat silicone or gasket silicone but I didn’t think I would be able to do that neat enough. Also, others have rightly suggested installing a small set screw on the bottom portion of the lip that holds the lens in place. This is a great idea and should be done. Just drill a small hole in the bottom of the lens bevel and install an equally sized (smallest you can find) stainless steel screw with some blue lock-tight, so the lens wont vibrate off.
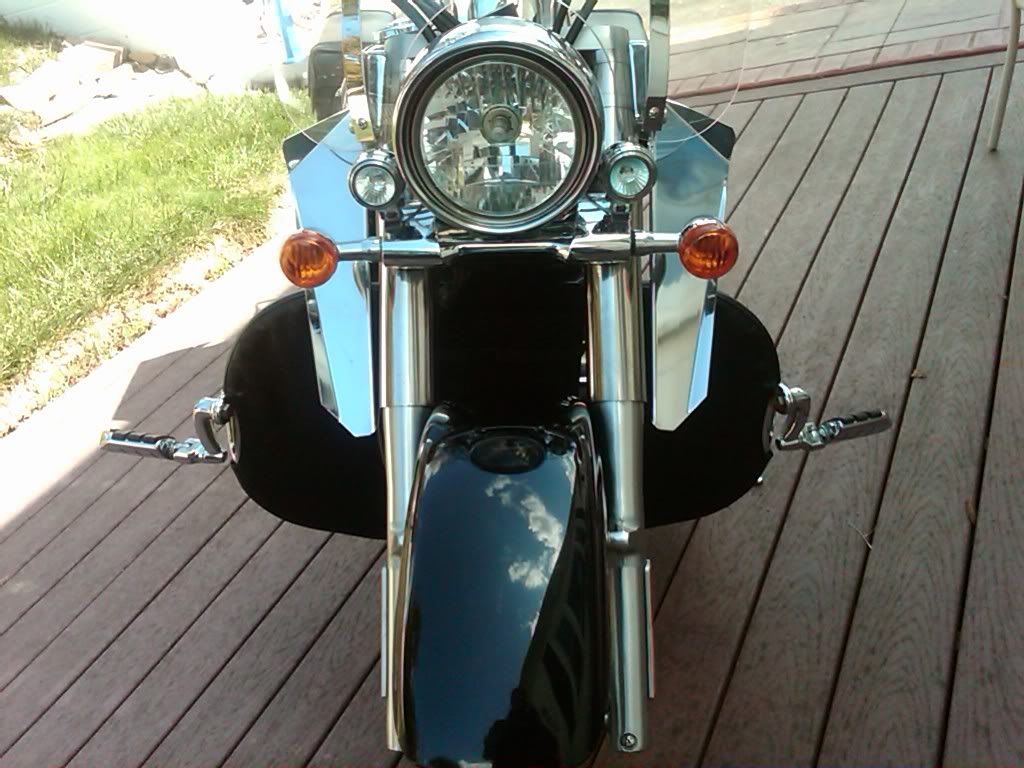
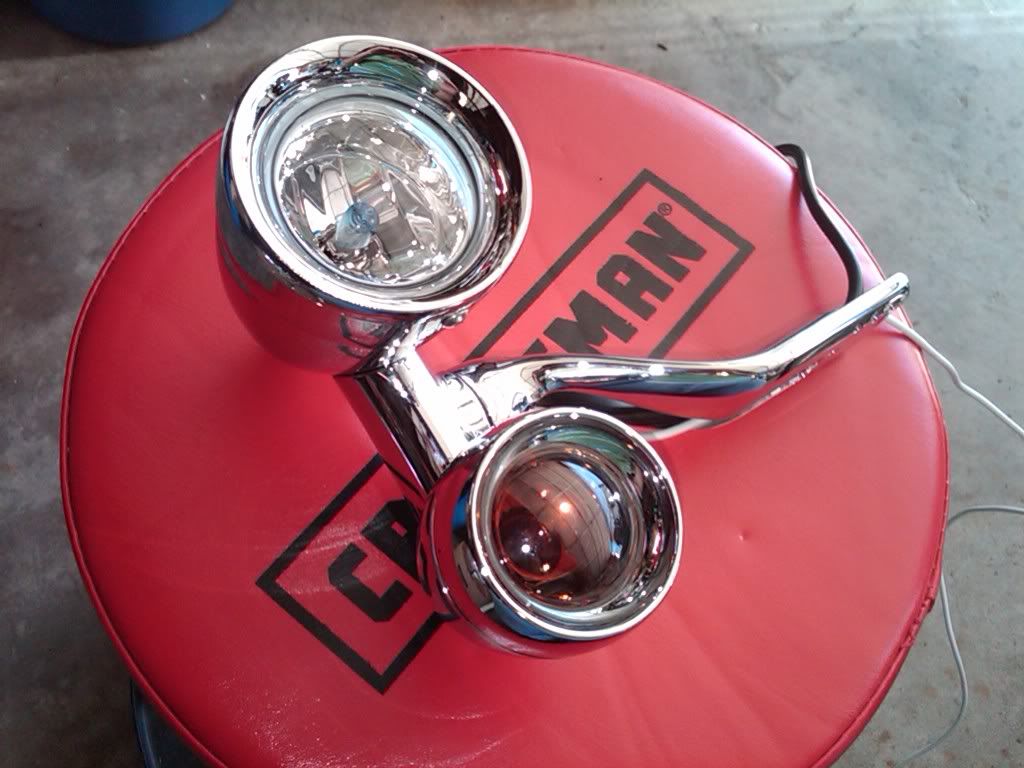
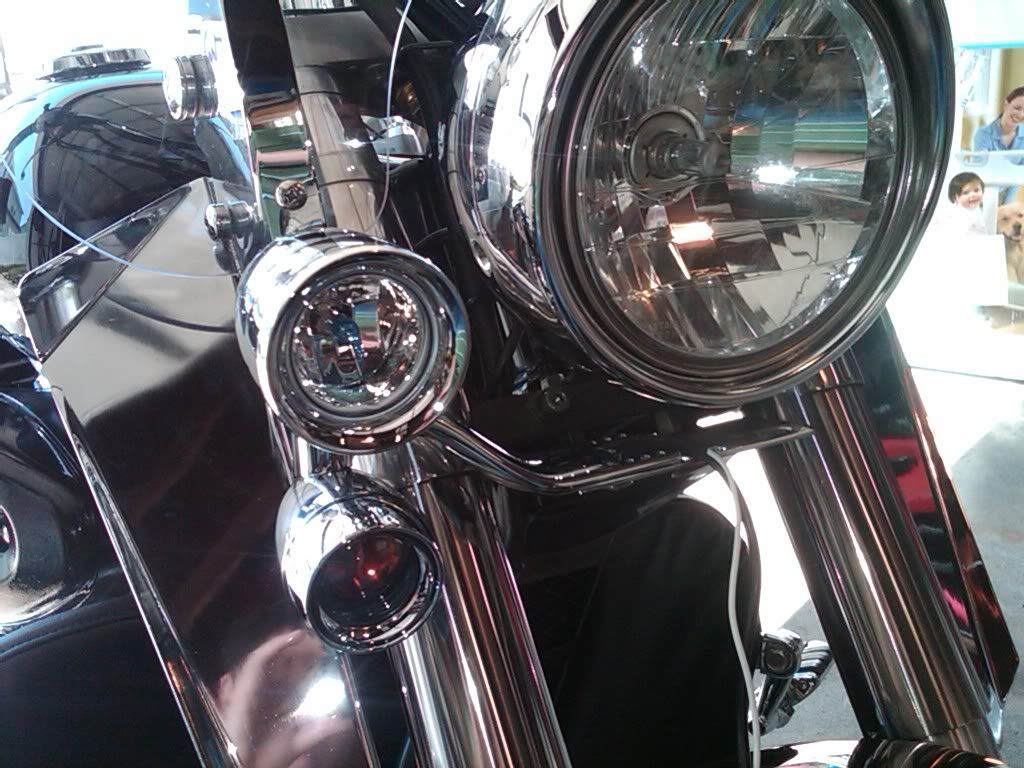
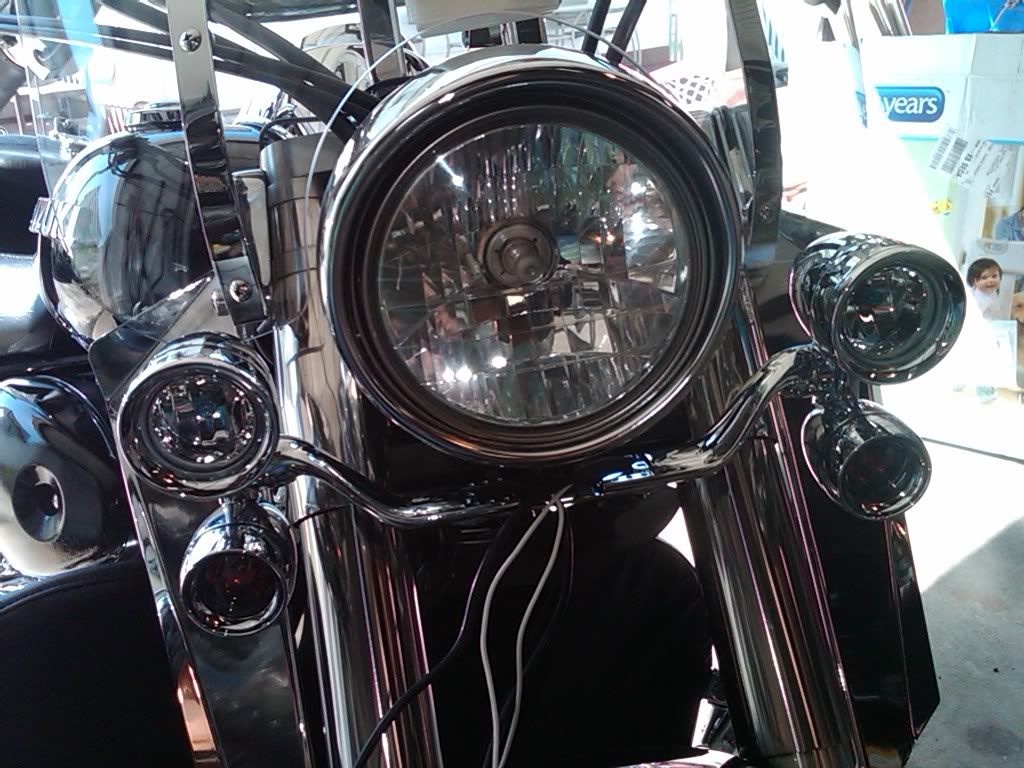
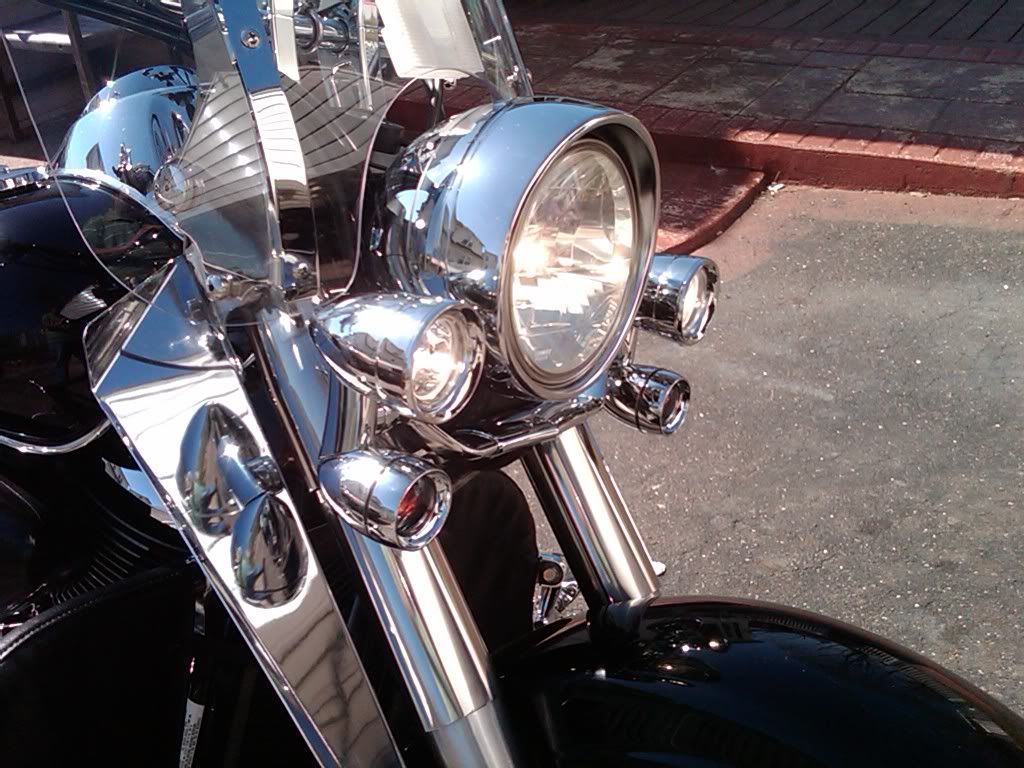
Mounting the Wal-Mart lights…
Before you even begin tearing into the bike you can test mount, then mount the lights. Mount them as far as possible to the edge of the turn signal trim piece. Just leave yourself enough of room underneath to get your nut and washer in there. It’s ok to let the mount overhang the side of the trim. When you drill the hole for the bolts in the trim piece use a small bit at first drilling from the outside, then work up to correct size drilled hole. (Hint…please use rubber washers between the plastic trim piece and the mount on both sides, you can over tighten the mounting nut and crack the plastic trim, I know from experience) Remember to use blue lock-tight on all the mounting nuts and do not over tighten.

In the wiring harness that came with the Wal-Mart Lights find the lengths of wire that connects to the lights and cut them a few feet back from the connectors. Slide some large heat shrink over it and connect the plug connectors from the lights to the shot of wire. Next slide the heat shrink over the plug connectors and heat em’ up. (tip: I did not solder these connectors so if I want to replace the 15 dollar lights with something better someday it will be an easy job, but feel free to cut the connectors away and solder in the wire directly to the lights if you want) Now, route the wire up into the headlight bucket.
After I mounted the lights I moved on to pulling the power from the Battery….
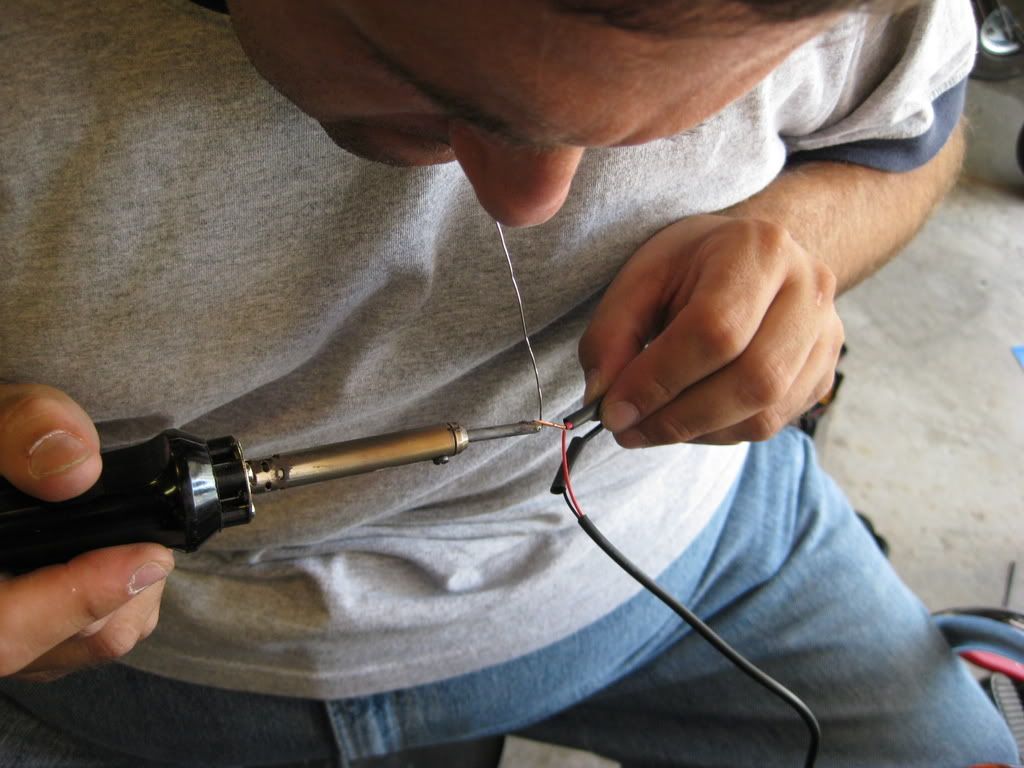
Now is a good time to stop and talk about your connections…all of the connections that you will make should be soldered then heat shrunk (I use sliver solder from Radio Shack because it keeps the Vampires away, and it melts fast)…remember to slip on the right size heat shrink before you splice and solder.
Remove the seats to expose the battery. Also, I removed the tank. Some people grimace about removing the tank but I find it easy and once you have the seats off it really only takes another minute to remove. First unscrew the bolt holding it down, prop it up with a piece of 2x4 or something (I just have someone hold it) then disconnect the wiring harness and unsnap the fuel line. The tank can now be lifted off.
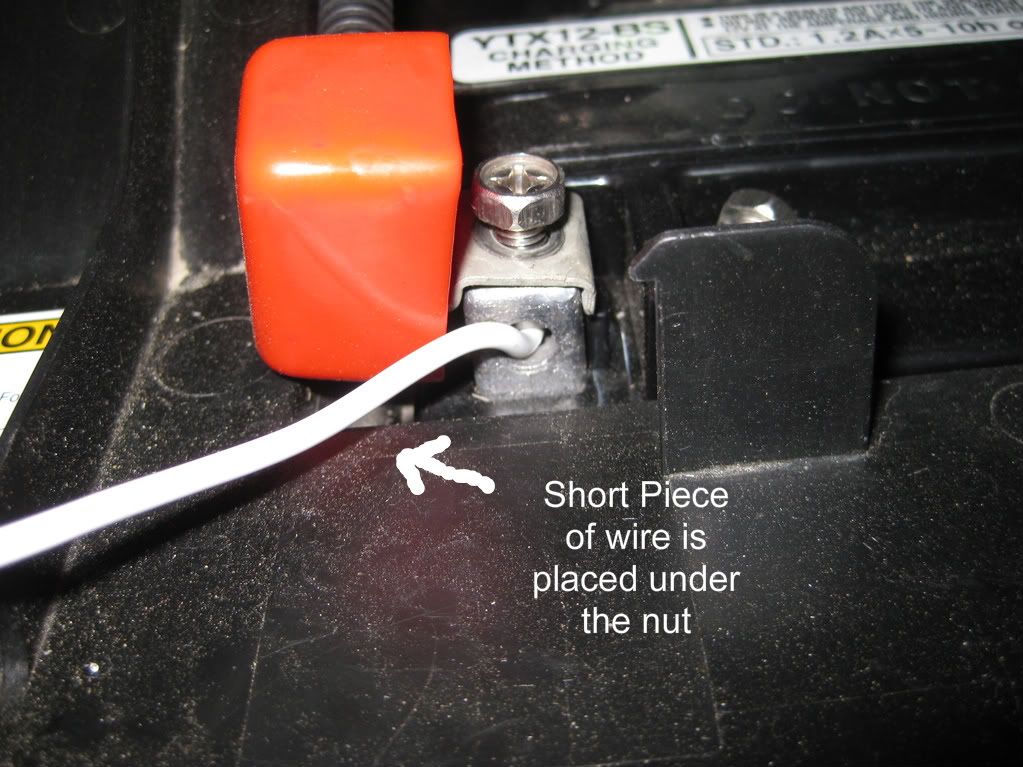
Disconnect the battery cables so the bike is truly dead. (tip: place something like a short piece of spare 12 gauge wire under the nut on the battery terminal…this will help you get the screw back on later)
Take the in-line fuse that came with the driving lights and cut it off its wire leaving a few inches to either side. Then solder and heat shrink in about 10 inches of the red radio shack 12 gauge wire to one side of the fuse and about 5 ft of the red radio shack wire to the other side.
Next at the end of the 10” side Crimp then solder on a Battery connector.
Next take about 5 ft of the black wire and on one end crimp then solder another battery cable.
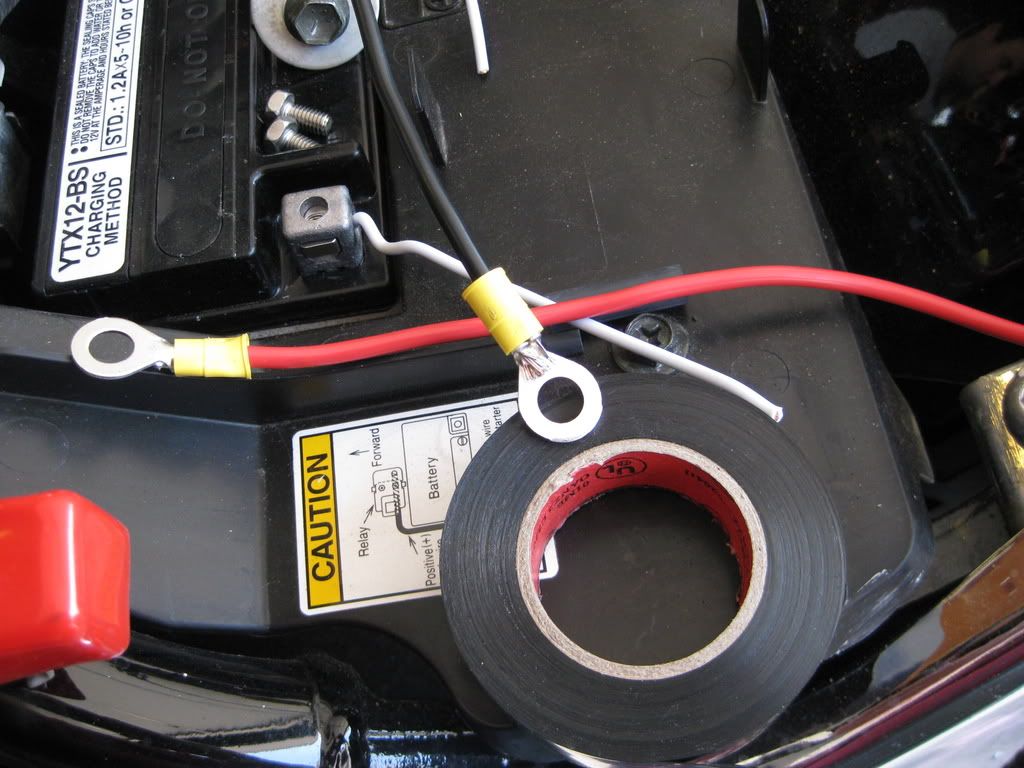
Do Not connect to the battery at this time….that will be the last thing that you do.
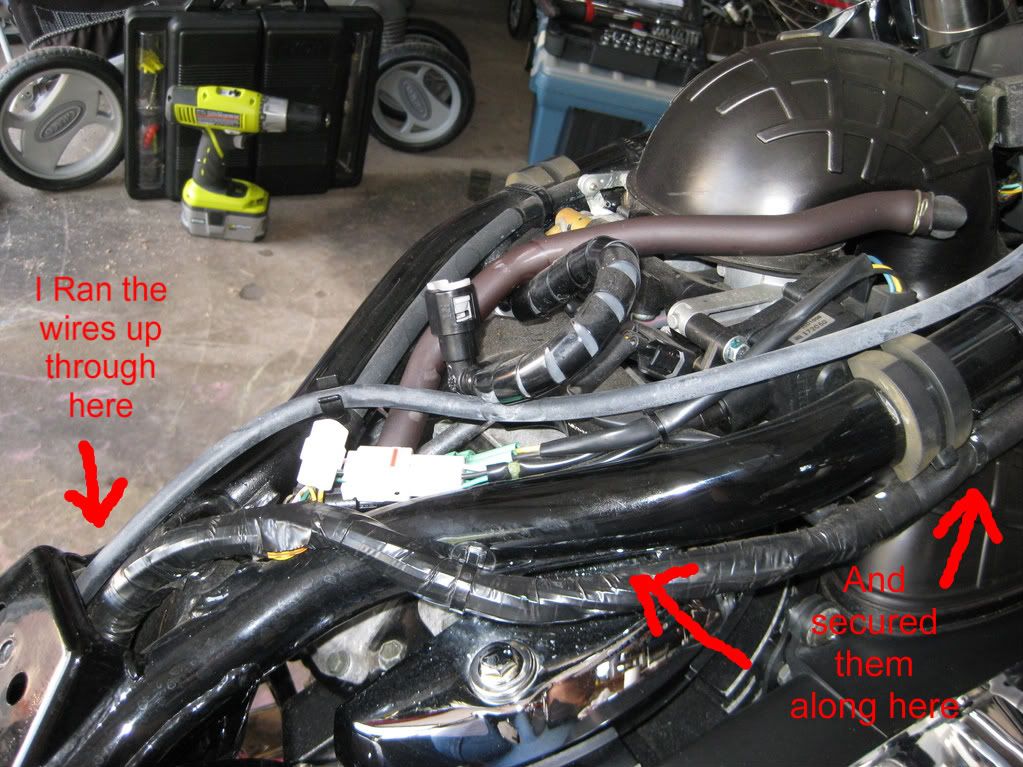
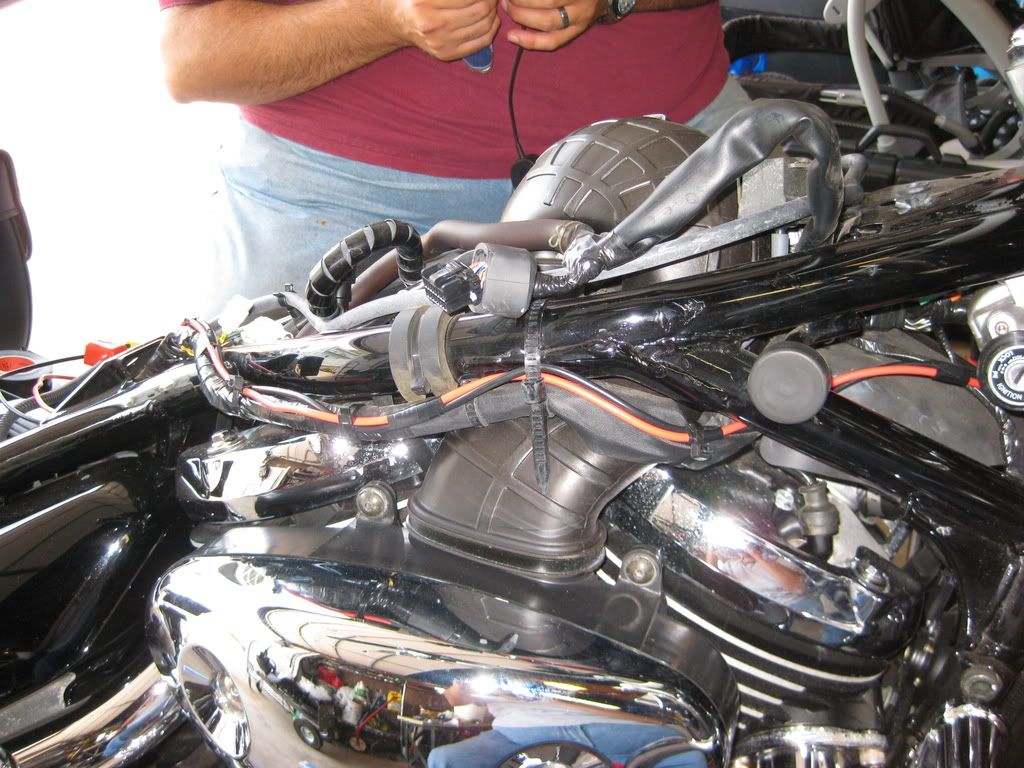
Your going to bind the red and black wires together every few inches with electrical tape and run it into the headlight bucket leaving enough of slack make all you connections. Secure the wires every few inches with wire ties where ever you see fit to secure it.
Then you can secure the tank back to the frame.
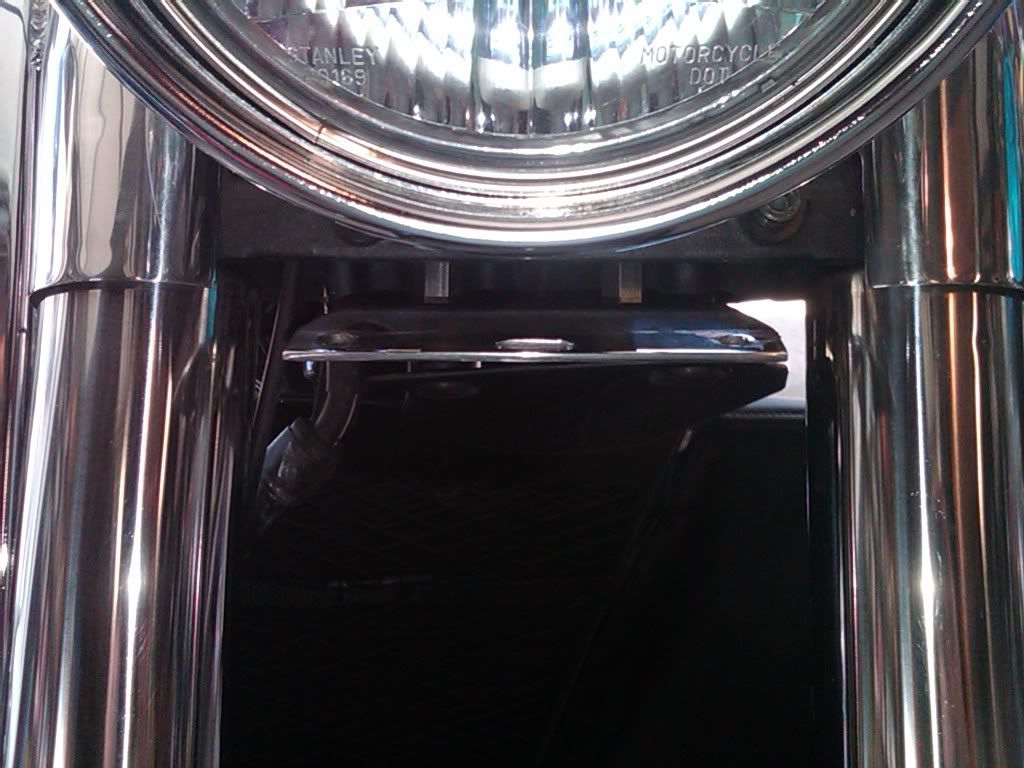
Open the Headlight Bucket.
Open the Pilot Relay Wiring Harness from the auto store. (if you don’t have this harness you can still follow this procedure by following the diagram below, the harness just makes it a little easier by making a plug for the relay)
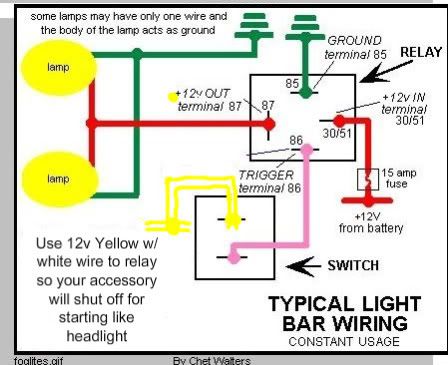
Locate the Yellow wiring harness in the headlight bucket and in that harness there is a yellow with white tracer wire that runs from the harness up the left side of the handlebar into the headlight switch. This wire will be the trigger wire for the relay. I chose to cut this wire and splice in the thin white from the PILOT RELAY WIRING HARNESS remembering to solder and heat shrink the connection. This is the wire that will go to your switch, (I don’t have a switch yet so for me this wire goes right to the relay harness) whether you put it into the speedo housing, or on the neck, or mounted on the handlebars. Now from the switch you will run another piece of 16 gauge wire to the trigger terminal on the relay housing which happens to be the thin white wire coming from the housing. If you are using a switch please either use spade terminals to connect to the switch or install a plug so that in the future you can completely remove the speedo housing.
If you are installing a switch into the speedo housing use a good quality switch like the one from Allied with an external rubber boot cover to keep it watertight. You can also use some Diaelectric compound on the inside terminals to further protect it, but that’s probably over kill.
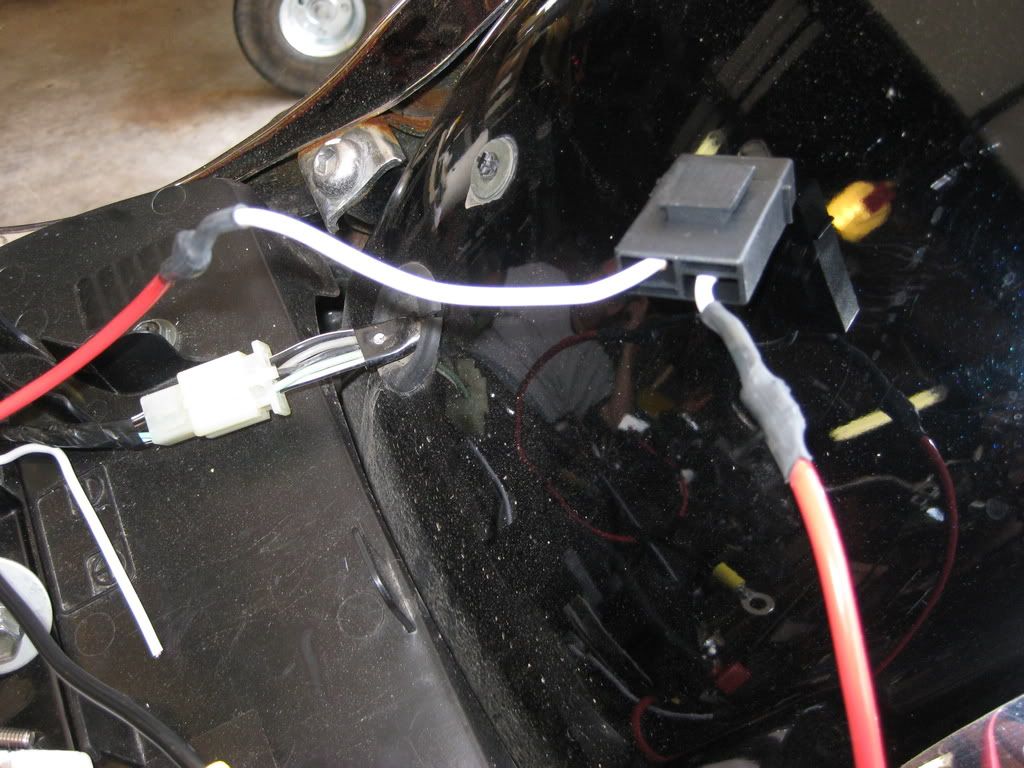
Also from the new relay housing are 2 larger gauge double white wires. These are the wires that will go to your lights. Connect the white wire from each light to the double white wire off of the relay housing in one soldered and heat shrunk connection. (tip: twist the white wire from each light together and then twist the two white wires from the relay housing together, and then twist the four wires together to form one large splice)
Connect our red wire from the battery to the large single white wire off from relay housing remembering to solder and heat shrink. This large white wire is the 12v in wire.
Connect the four remaining black wires together in a large soldered heat shrunk splice. The four black wires are: 1 each from the lights, the black main wire from the battery, and the ground wire from the relay housing.
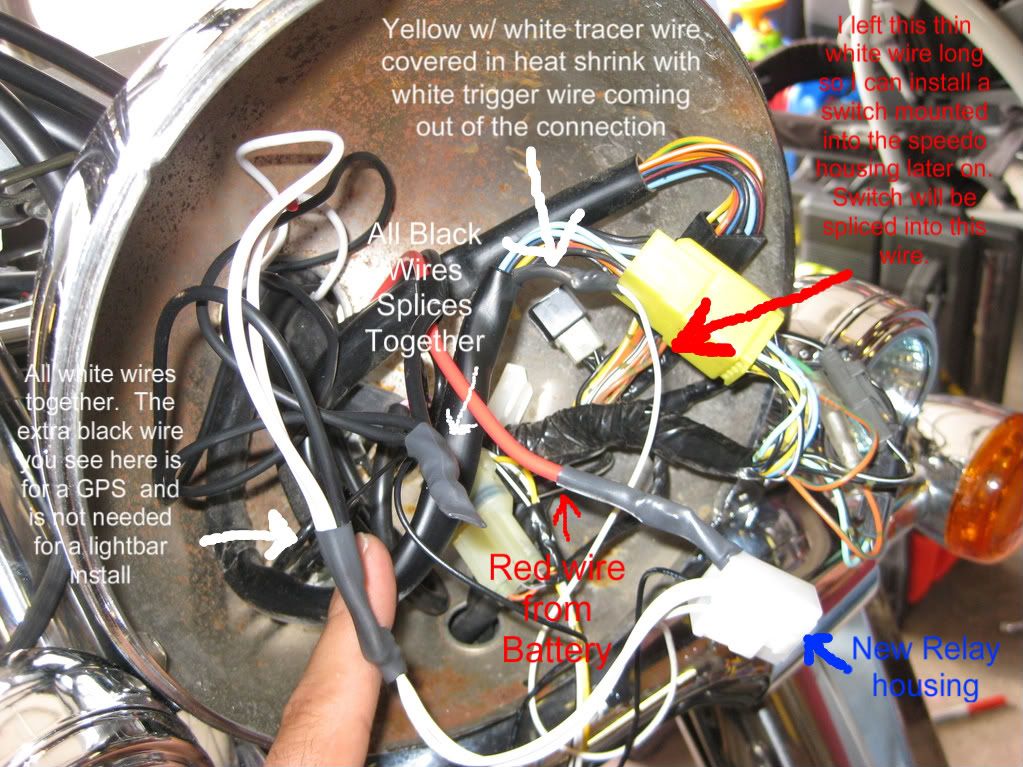
Now place all the wires neatly into the headlight bucket and affix the relay to the relay housing.
Clean up all of your exposed wires with the plastic wire cover.
Connect your Red and Black wires to the battery. (tip: remember to remove the little shots of wire holding up the battery nut) and your going to have to notch the flimsy red plastic casing that covers the red terminal to accommodate the new red wire. YOUR DONE!!!!
Now you are ready to test and button up everything.

Good Luck!!!
James